

Wireless microphones
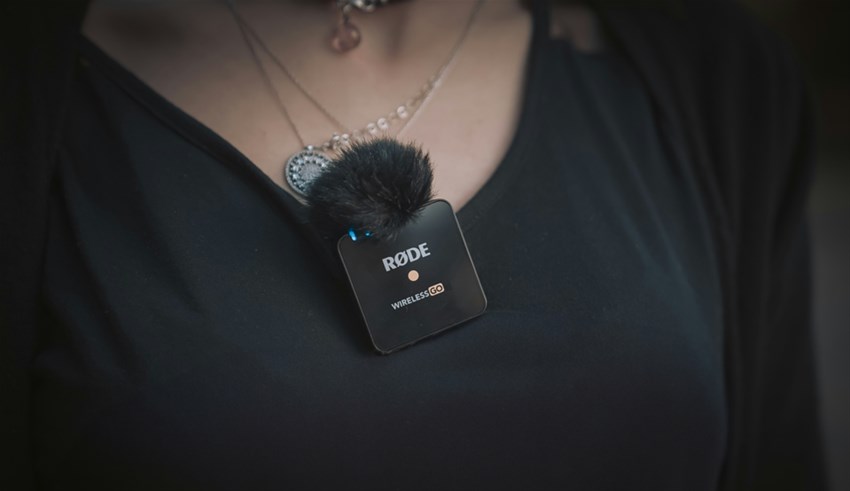
Wireless Go is a compact wireless microphone system for simple and high-quality audio recording. Works perfectly for video recording with a mobile or digital camera.
Quick Start
Press and hold the power button (Ø) for 3 seconds to turn on the receiver (RX). Press and hold the power button (Ø) for 3 seconds to turn on the transmitter (TX). The units will already be paired and begin transmitting audio; the transmitter will use the built-in microphone. Attach the included windscreen if needed. If desired, connect the included "lav mic" and the transmitter will automatically switch to the lav mic input. Connect the receiver to the microphone/audio input on a camera or smartphone.
If using a smartphone, in most cases, the red cable with one black and one gray end is recommended, with the gray end going into the phone (3.5mm TRS to TRRS). *Note! Read how to use with Apple Lightning connector.
If using a camera, the red cable with two black ends (3.5mm TRS) is recommended.
RX
Here you can adjust the audio sensitivity (gain, dB) and re-establish the connection if the receiver and transmitter have lost connection.
If pairing is required:
- Press and hold the pairing button for 3 seconds. The signal strength icon on the screen will begin blinking.
- Press the power button (Ø) on the transmitter once. TX and RX should pair immediately.
TX
The transmitter has two LED indicators, one showing battery level and the other indicating a successful pairing between the transmitter and receiver.
Solid light = Connected and transmitting to a receiver
Slow blinking = Not connected to the receiver or out of range
Fast blinking = In pairing mode (will end after 3 seconds)
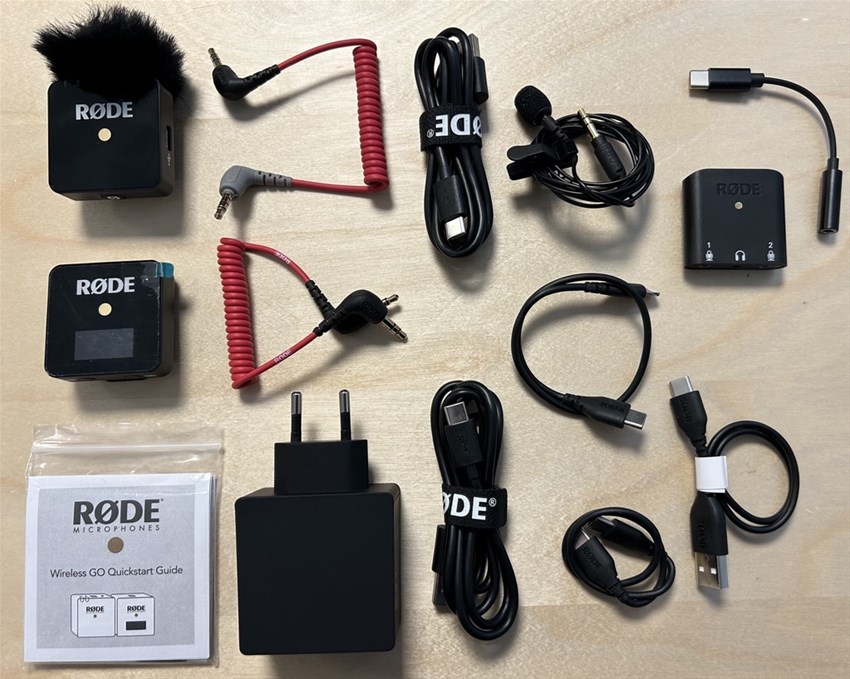
Charging of the units is done via USB-C. In the middle compartment, you will find a charger capable of charging both the transmitter and receiver, as well as two USB-2.0 to USB-C cables.
Tips
Always make a test recording before it's time to record for real. This allows you to check if the phone or camera is picking up sound from the correct source and also adjust the correct audio level (gain, dB) based on the situation and environment you are in. When everything sounds good, you are ready to record and can be confident that you will get good audio quality in your recording.
Apple Lightning *
A small audio interface (Røde AI-Micro) is included, capable of taking two audio inputs and can be connected via USB-C to Lightning cable to an iPhone. Alternatively, use your own adapter for the iPhone. The receiver is then plugged into one of the audio inputs on the audio interface.
Whats in the bag
Loan period
Themicrophones has a two-week loan period. You can extend the loan twice if no one is queuing for the camera. Renew the loan via your library account.
You can also queue up or reserve the equipment by searching for "microphone" in the library search.