

Nvivo
NVivo is a software for "qualitative data analysis" (QDA), mostly used in the social sciences and humanities.
What is NViVo?
Examples of areas of use can be analyzes of interviews, websites, social media, audio, video, and film. The software can handle a large number of different research methodologies.
The University West license for NVivo allows both staff and students to install NVivo on their personal computers and create their own staff/student licence. See instructions below to get a licence.
Note! Your license and software for NVivo needs to be updated every year. See instructions below.
NOTE! If you already have an NViVo 12 account, do not update it but follow the instructions below if you need to renew your license.
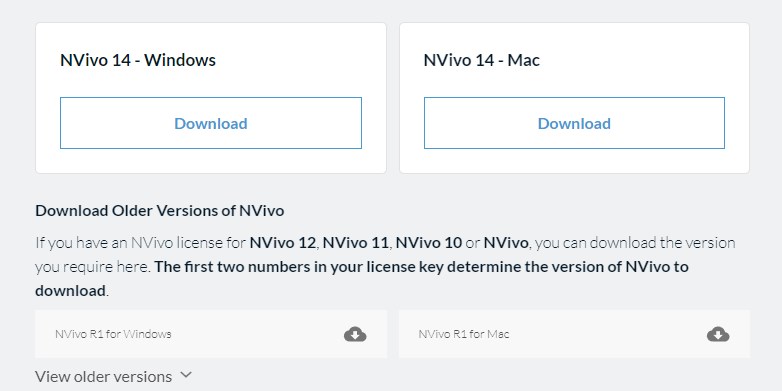
Download NViVo
Now you have the possibility to choose to use either version 14 or version R1. (see image).
Get access
- To start the process, browse to https://portal.mynvivo.com/account/licence-registration
- Log in with your existing NViVo login details or create a new account. You can use either your private email address or your student/staff address (@hv.se / @student.hv.se).
- Enter the license key (numeric code) that is replaced every year. To access this year's code, click on the document below.
Code for 2023 - After entering this years licence key, you will receive a personal license and can start working with the software.
- NOTE! If you have updated NViVo, you might need to import your previous projects from NVivo 12 into the new version. Please follow the instructions below.
Import your previous files/projects from NViVo 12 into a new version
- Import your previous files/projects from NViVo 12 into a new version
- Open NVivo, on the File tab, click Open > Browse.
- Ensure you have NViVo Projects selected in the bottom-right of the dialog box
- Select the project you want to open and click Open.
- The Upgrade Project dialog box opens.
- By default, the updated file is saved in the same location with '(NVivo R1.6)' appended to the file name.
- To change the file name, location, or save as an NVivo Collaboration Server project: Click Browse >Make the required changes and click Save>Click Next and then click Upgrade.